Please help me welcome our newest contributor at Everyday Elements. Kelly Newbury, a very talented still life photographer, will be with us once a month, sharing her tips for still life photography and editing with textures. You can see her beautiful work at her Etsy shop Fine Art Prints by Kelly Newbury.
When setting up a still life shoot, I usually have the item(s) on a table near a window. I like to shoot at a time of day when the light is close to the window without coming right in and making it too bright or making glare. Sometimes I just shoot them where I find them. Sometimes I go out onto the porch to shoot.
I use various backgrounds; cardboard, scrapbook paper, foam board, the wall, window, cloth or even wall paper. I tend to favor less cluttered images. I don’t usually add lots of other things to the scene, I want to make the image interesting, but not too busy.
When shooting small items, adding a prop to show perspective, and proportion, or size is helpful, and can add a little flair. Ultimately, the key for me is making the subjects stand center stage and use the set up to help them shine!
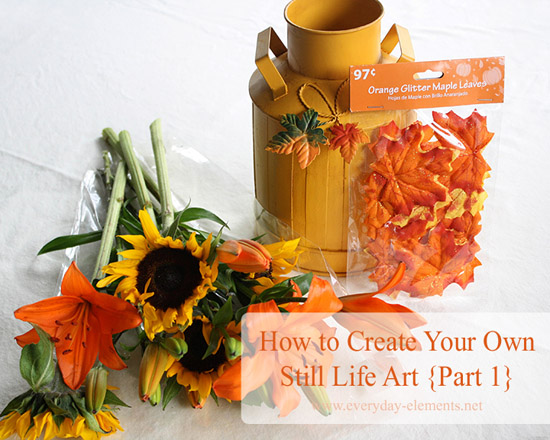
Here, I started with the cute yellow milk canister I found at WalMart. I really like the fall decorations out now, and I also like fresh flowers in the house, so I combine them to make a pretty picture that I can maybe sell in my shop, or use for a blog post about fall. I bought some sunflowers and lilies in coordinating colors, and a cute little packet of sparkly maple leaves for 97¢.
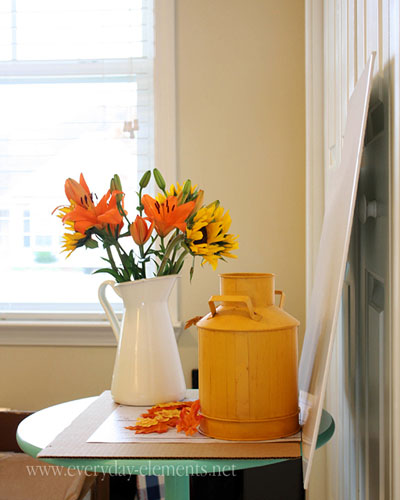
I set them up on a pedestal table near my office window, up against the white closet doors. My table is blue, so to eliminate the reflection, I use a piece of cardboard over it. I want it to look like it’s on a wooden table, so I use a vinyl tile I have that is made to look like wood. (I got it on Etsy as a sample of the flooring/backdrops they sell) It’s great for small items!
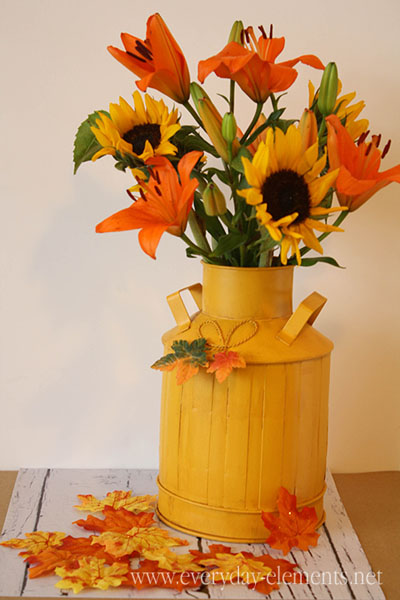
My canister is a bit big; I will have to make the tile wider in Photoshop Elements (explained in part 2). I used a piece of white foam board as a backdrop to help fill in shadows, and the plain background is nice since I plan to use textures in post processing.
I use a Canon Rebel XS and my Canon 18-55mm lens . I normally prefer my Canon 50mm f/2.5 macro for still life, but this item was too tall to fit in frame.
My camera settings for this image were ISO 400, f/5.6, shutter speed 1/10. Focal length was 48mm. When shooting with a shutter speed you may want to use a tripod to prevent motion blur from your handshake.
I shoot in manual, and with my Canon I usually need to I over-exposed by 2 ‘ticks’. Sometimes bracketing is good, I just review and adjust.
Still life photography can be so fun! There are a myriad things to shoot if you use a little imagination! Look around for things you love, or think look good together. I love using vintage cameras, books, teapots, flowers, ceramics, and jewelry to put images together I think I would like, or someone would like to hang on their walls!
Look around your home, practice, play, try out different combos! Look for the light in your house, or outside. Most of all, have fun! 🙂
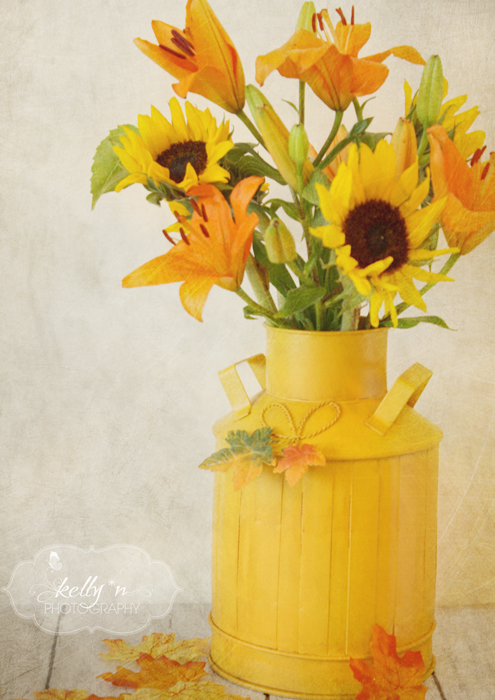
Below is the finished product after editing in Photoshop Elements and adding textures. I will show the steps I took in part two which is coming next week.


Great post! Looking forward to reading more 🙂
Welcome, Kelly! I love the idea of using the scraps of background for the floor, what a great idea and beautiful photo!
Great post, Kelly! You’ve inspired me to get more creative!!
Thanks for the idea of using the scraps of background for the floor. Great idea. Very beautiful photo.
I’ve enjoyed your art for a very long time, so will look forward to your posts!
Good Day Guys I like y0ur theme very much b00kmarked it thank u
jgNMAA
I read your blog all the time and I just thought I’d say keep up the amazing work!
marriage counselors in Chicago