One of the things I love about PSE is that you can alter the “Expert” workspace. Why would you want to alter it? Well, changing the layout of the panels in the Photoshop Elements workspace is a great way to customize the screen to suit YOUR needs and how you best move around the space and work.
Here are some ways you can customize the PSE workspace:
- Show normally hidden panels such as Info, History, Adjustments, etc.
- Place those panels beside or below other panels.
- Nest different panels together in one area so that you can click the tabs to get from one to the other.
Once you have customized your space, it will remain that way when you leave PSE and open it again later. To reset your panels, simply go to Window in the main menu, then down to Reset Panels.
If you have Photoshop CS or CC, look over this rather helpful tutorial for creating multiple custom workspaces.
If you have Photoshop Elements 8 through 10, check out this older tutorial showing how to customize your workspace.
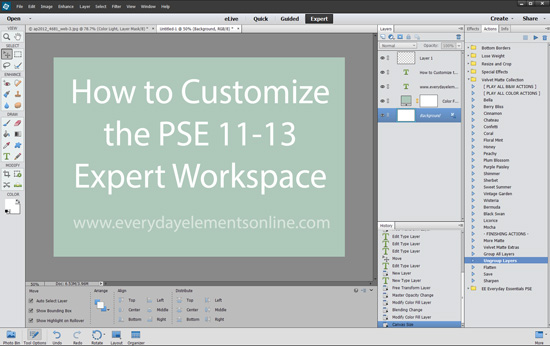
Below is a short video showing how to customize the Expert workspace in PSE 13, which applies also to PSE 11 and 12.


Thanks for this tutorial! I just upgraded to PSE 13 from 7 and I’m still getting used to what’s different. This will make it more comfortable for me!