I am still in survival mode while I try to catch up on business/house/family matters that got pushed aside because of Delanie’s accident, so my next few tutorials are going to be video tutorials, with little or no screen prints. Thank you for understanding.
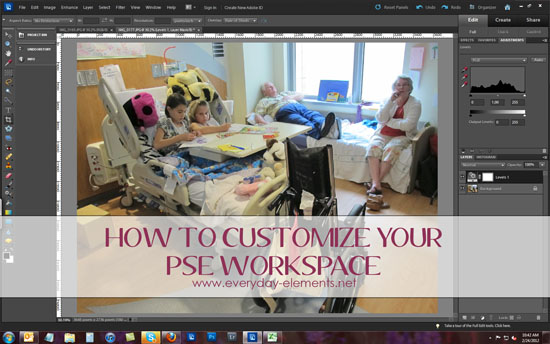
Today’s tutorial is on how to customize your workspace in Photoshop Elements. If you have PSE 8 or PSE 9, you can “nest” your panels in a variety of ways. If you have PSE 7 and older, you have access to all the panels I reference, you just cannot nest them together as I show in the video.
Why bother customizing your workspace? To have often-used panels/boxes in easy to access places, to speed your workflow. Getting to things quickly can really cut down on your editing time, believe it or not.
Customizing your PSE workspace is something I share in the Beginner’s workshop I teach and I showed it last night in the Watch Me Work session. The video recording had cut off just before I showed this to them, so I thought I would share it for everyone to learn here on the blog. I hope you enjoy this little tip and that it helps you get to know your Photoshop Elements a little better.
Note: We had a great time in the Watch Me Work session last night and I have another one coming up on June 12 at 8:30 PM EST. If you would like to have access to the recording, you can purchase it below.


Thanks Amanda. As always, this was a very informative tutorial.
One question though. How do I get my Layers panel to remain large when I go to another panel. say Adjustments, and then back to Layers. I always have to resize the Effects panel above it (make it smaller) so that the Layers panel has more layers visable and that’s frustrating. Does that make sense?
That was very helpful and I am going to go over to my Elements 9 and use your tips. V
Quick question: I, too, love to have the large work space so I was excited to learn about moving the project bin over to the left side. But my tools that are already there are in two side-by-side rows (not the one row like you have) so I pulled them out and clicked the double arrows to get them into one row. Yet I can’t see all my tools when I do this. The color swatch is below the viewable space and there is no way to scroll to it (not that I want to) how do I get them into one line like yours but still able to see them all?
Thanks so much!
Great tutorial! I wondered how you get the tools in a straight line down the side instead of two rows???
Thanks,
Sharon
Figured it out!!! Yay!
I can’t get my tools all in one row. How do you do that? Tks!