If you have ever created a business card, blog header or even a scrapbook page, you may have needed to get certain elements lined up with each other. Often times people will try to “eyeball” it, but there is a really easy tool you can use to help you get things just right: the Move tool.
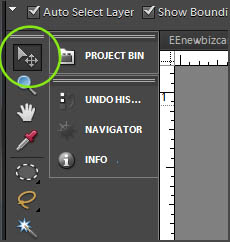
Once you have all your type, shapes, and whatever else you have going into your document, click on ‘v’ on your keyboard to activate the Move tool. Or, you can click on the tool itself in the tool bar.
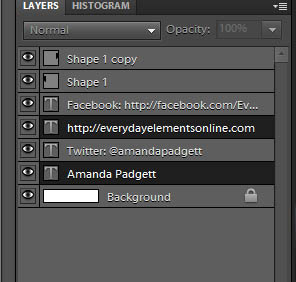
Highlight the elements you want to align by holding down the shift key and clicking on the particular layers. If those elements are on layers that are not together, hold down the ‘control’ (‘command’ on Mac) key and click on the necessary layers.
Then go to the option menu for the Move tool and click on Align. Choose whatever alignment would best suit your document.
Repeat for the other elements/layers in the document.
Below is a quick 3.5 minute video showing you these steps on a little blog header I made up just to show the technique. Don’t worry, it was trashed after I finished the tutorial.


Thanks for this, Amanda! What if you have a text layer that you want centered in your blog header? Is there a way to automatically center it on the page?
I had NO IDEA about this. Thanks so much for sharing!