written by Beckie of beckiegkengle.com
It’s that time of year when everyone starts thinking about their Christmas cards. If you’re just starting out, or maybe you’re a hobbyist like me, you might wonder where to find all those cool templates that the pros all use. The Album Cafe has a great selection of holiday card templates!
The Album Cafe was one of the sponsors for the September 2012 “PRIME: focus on you event”. And each attendee received a gift certificate to use at The Album Cafe website.
I browsed the holiday cards because it was time for me to get my Christmas cards ready (we had our family portraits done by the amazing Winnie Bruce), and I purchased the “Celebrate” template. Each of their 2012 Holiday Card templates comes with a couple card variations (5×7 flat front & back, and a 5×7 folded card with front and back and inside, and a matching address label ).
Templates are very easy to use (I am using CS5, but these same instructions will apply to PSE also). If you need some help understanding clipping masks, check out the tutorial Amanda wrote.
First, drag and drop your template into PS or PSE. (the blue lines that you see are called guide lines, and they will not show up in your final JPG file)

Then you’ll add your images by highlighting the layer you want them in, and then drag and drop and adjust to fit using clipping masks. I also changed my text, and slightly adjusted the red color to a more muted red. And voila, the front side is done! (any time you want to edit a particular layer, make sure you have that layer highlighted)
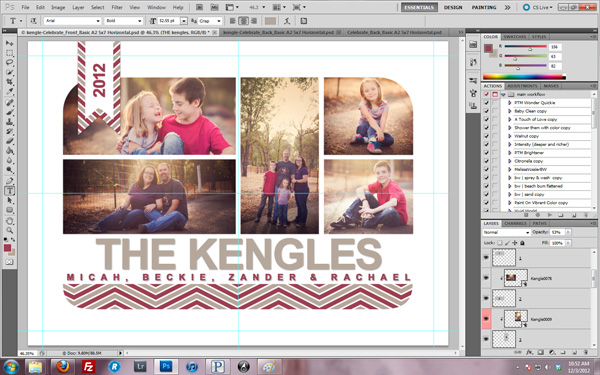
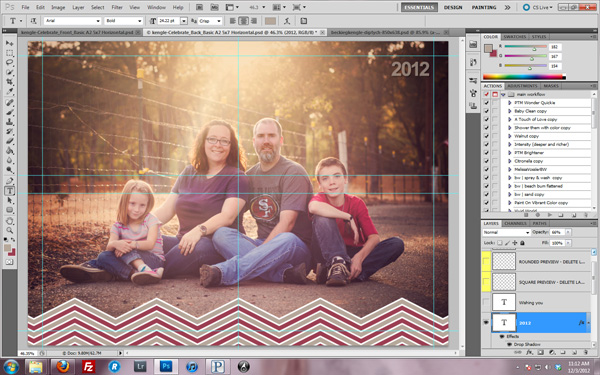
I decided that I wanted to personalize the front even more by using one of my images in the background at a very reduced opacity to add some more color (I like lots of color! :-)) That is the neat thing about most templates; the are very easy to customize!

The backside of this particular card is pretty simple. Again, I adjusted the red ever so slightly to match the red on the front. Now, for me personally, I like to utilize all available space for pictures. So I decided to remove the text, and make my picture fit the entire background.
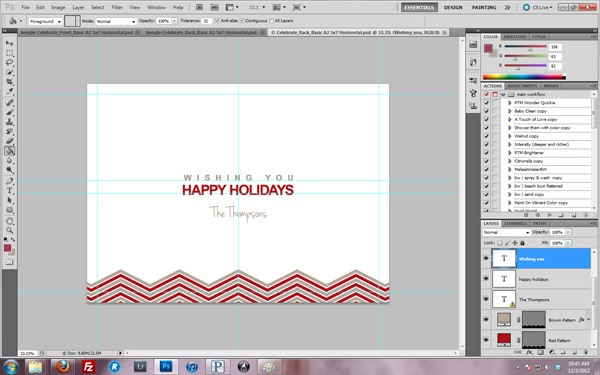
Next I added my image, adjusted the red color again, and updated the address in the included wrap-around address label template.

Here is my final product that I’m going to send to my printer!
Front:

Back:

There are many consumer labs out there. Another one of our sponsors for September’s Prime event was Mpix. This is who I will use to print out my cards and labels.
If you enjoyed reading my post and would like to follow more of my journey through life in photography, feel free to visit my blog or follow my Facebook page!


I just love The Album Cafe! They were a wonderful resource for me before I learned how to create my own templates. Nice to see you getting the word out on that site : )- One word to add, however, that many folks don’t think of (from reading your work, I’ll bet you already know this) – be sure your professional photographer has given you the rights in your purchase to create your own cards. Good lookin’ family!
Yes, good point, Peggy. Getting a print release would be necessary if you are going to use professional pictures!