Last fall I was asked by my sister to do the bridal portraits her sweet, soon-to-be daughter-in-law. It is a tradition in the South to have bridal portraits shot months before the wedding, and have one or more of the portraits on display at the wedding reception.
I have shot one wedding, but never a bridal portrait. I really wanted to say no, but I eventually gave in and tried to approach it as a learning experience I could share here at EE in the future.
This post is not about prepping for a bridal portrait shoot, or all the things I learned from the experience. Instead I want to focus on one particular shot and share what I did to capture it.
The church was small and quaint, but it did not have a large variety of places to pose the bride. I had not seen the church before (they live five hours away from me), so I had to think on my feet.
There was a large doorway at the front of the church, with some lovely colors in the background. I decided to pose the bride in the middle of it, and have her turn to look back at me. When I shot without flash, I metered for her and could get a nice shot, however it blew out (extremely overexposed) the foliage behind her. Thankfully I had brought my flash and a slew of reflectors.
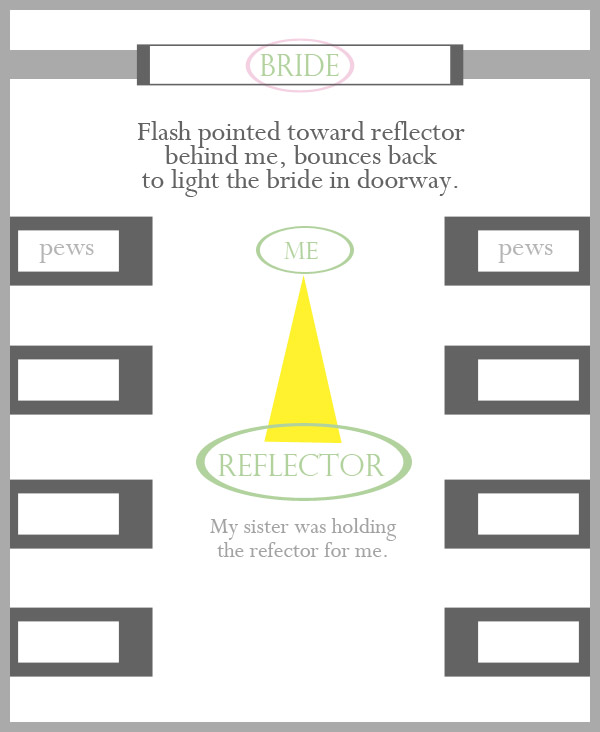
I positioned my sister behind me, holding the reflector in the air a bit. My Nikon SB910 flash was put on the camera and turned to point at the reflector. When the shutter was released and the flash fired, the light bounced off the reflector and onto the bride.
Why bounce the flash and not point it right at her? By bouncing the flash off the reflector, it softened the light and prevented harsh shadows that often come with direct flash.
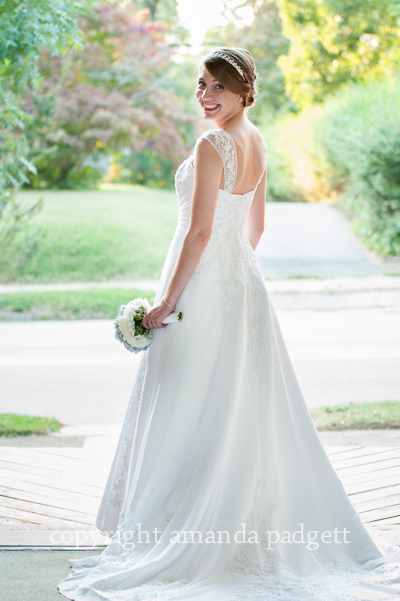
Below is one of the shots taken in that position. It is pretty much straight-from-camera (I did pull down the highlights in Lightroom to recover some clipping). Notice the carpet of the church, then the wood of the deck outside.
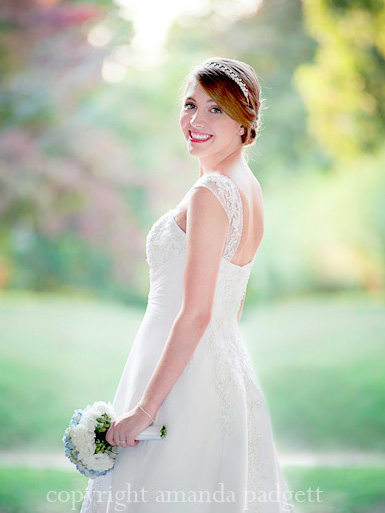
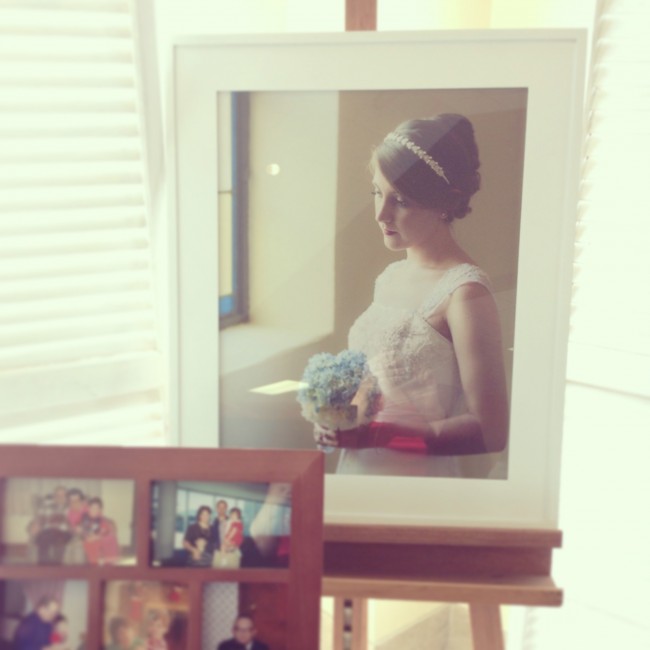
The image at the top is one that was printed for the reception. I editing in Lightroom, then Photoshop Elements. You can see I removed/covered the driveway that was behind her. Next is an Instagram shot of the other portrait she had at the reception. I will talk about that shot in a separate post.
Below is an graphic showing where I was in relation to the bride, and where my sister was with the reflector. The graphic is NOT to scale. 😉 If you are brand new to the world of flash, check out the beginners guide to using flash post I wrote a while back.


This was very useful, I have used flash to lift the light or maybe fill in the light or balance the light with a bright background but bouncing the flash from behind me is something I am going to practice right away! Thanks for sharing!
Thanks for this, Amanda! The finished portrait is lovely. Would you consider doing an editing tutorial for us? I would love to see how you successfully covered up the driveway to the right of her. Yours looks so natural-mine always looks botched up!
Mindy, I just did a quick tutorial showing the same technique I used to remove the driveway. Hope it helps.
http://everydayelementsonline.com/2014/04/clone-without-using-clone-tool-photoshop-elements/
Please so a video demonstrating cloning and cleaning up a scene. I have the worst time blending in a cloned area.
Jennifer, I just did a quick tutorial showing the technique I used I removed the driveway. Different picture, same steps. Hope it helps.
http://everydayelementsonline.com/2014/04/clone-without-using-clone-tool-photoshop-elements/
Yes! Thank you so much 🙂
I have never thougth of using the reflector like that! Did you use a white reflector so that the light stayed soft?
Adn your edit is beautiful! I read the article about fillping the background, what a time saver!!
Very useful tip, thank you 🙂
How did you allow for the beautiful ambient light?
Thank you. I love all your tutorials and help!