There are three parts to the infamous “Exposure Triangle:” ISO, shutter speed and aperture. Today I’m talking about ISO, which is how sensitive to light you are telling your camera to be. The lower the ISO, the less sensitive to light you are telling your camera to be, the higher the ISO, the more sensitive to light your camera is. In my photography workshop I liken it to sunglasses. At an ISO of 100 your camera has on dark sunglasses, letting in very little light. At an ISO of 2500, your camera has on sunglasses with hardly any filter value, it’s letting a bunch of light through.
So, if you are going out in bright sunlight, you are going to put on those heavy sunglasses, setting your camera’s ISO to like 100 or 200. If you do not lower that ISO, you will overexpose your images because you will have too much light.
If you are in a room with poor light, you are going to take off those dark sunglasses and give your camera an ISO of like 1600 or higher. You want your camera to see lots of light or your image may be underexposed.
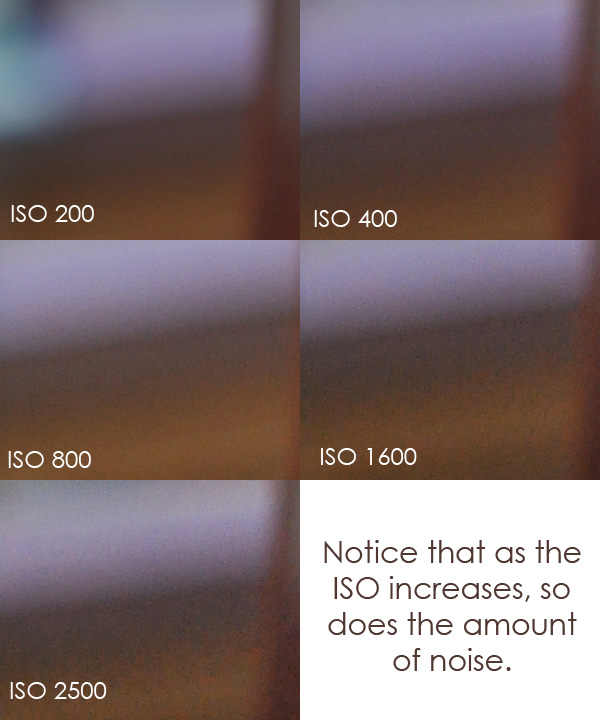
This post focuses on how ISO and exposure affects noise. What is noise? Noise is the digital grain in your images. How ISO affects it is that the higher your ISO, the more noise you are going to have.
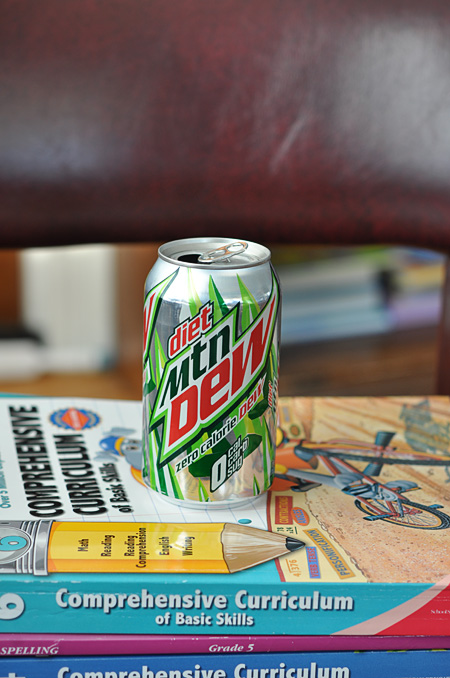
I went all out and hired an expensive model and set up an elaborate studio to get my shots for this tutorial….a Diet Mountain Dew can and a stack of books in my office. 😉
Below is a collage of 100% crops of shots I took of the can, cropped into the area behind the chair. You can see that the ISO of 200 has the least amount of noise and the ISO of 2500 has the most.
So, it seems like the rule would be keep your ISO low and you will have less noise. True, this is true. But, what happens if end up underexposing your image while trying to keep that low ISO? That is the caveat – an underexposed image can produce as much or more noise as an image shot at a higher ISO.
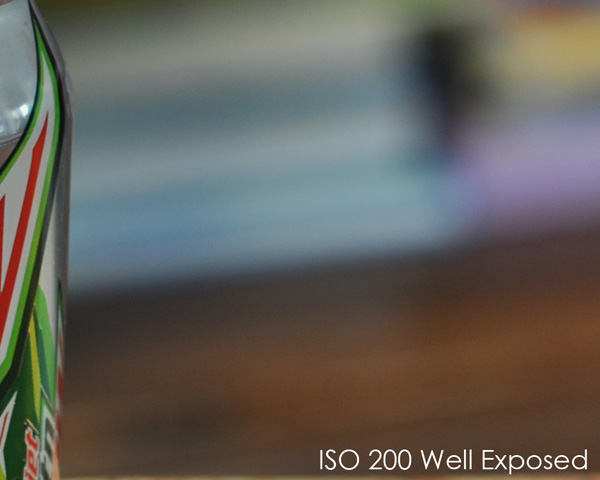
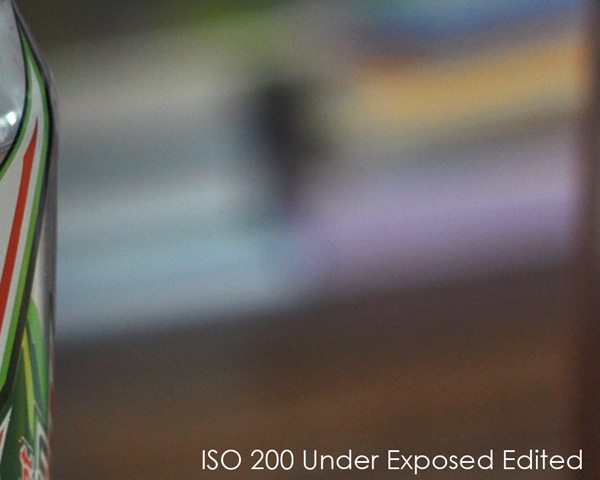
To illustrate, I took pictures of my high-priced model at various ISO, both well-exposed and underexposed. I zoomed into 100% view and then did a close a crops of each image as I could.
The first two images are at ISO 200, one well-exposed and one under-exposed but edited with a Levels adjustment only. Notice how much noise is in the under-exposed, edited one?
The next two are at ISO 400, the first well-exposed and the second under but edited with Levels only.
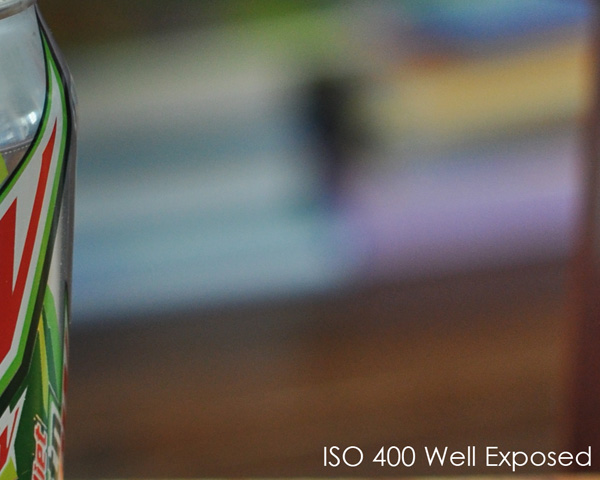
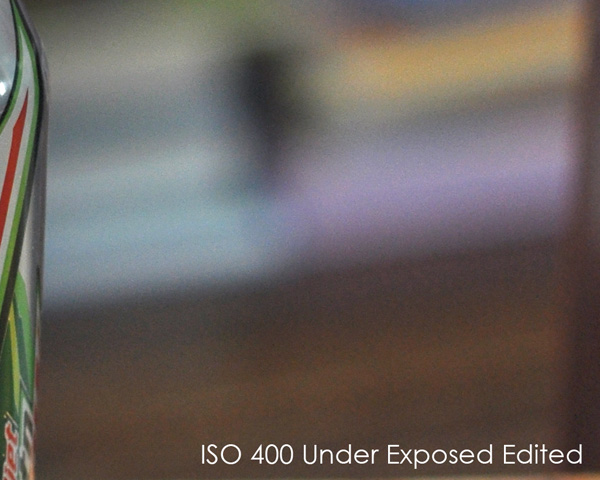
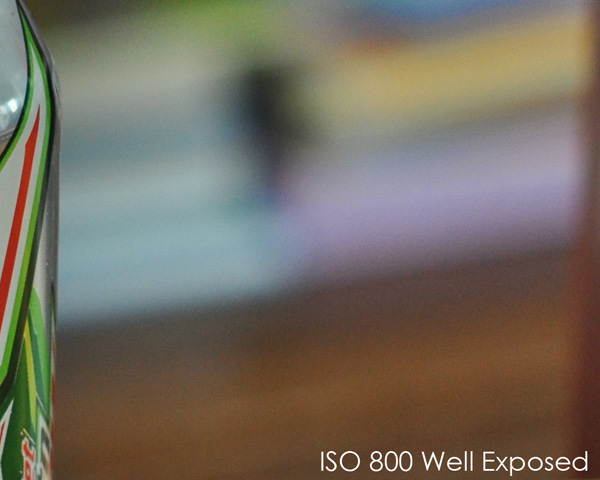
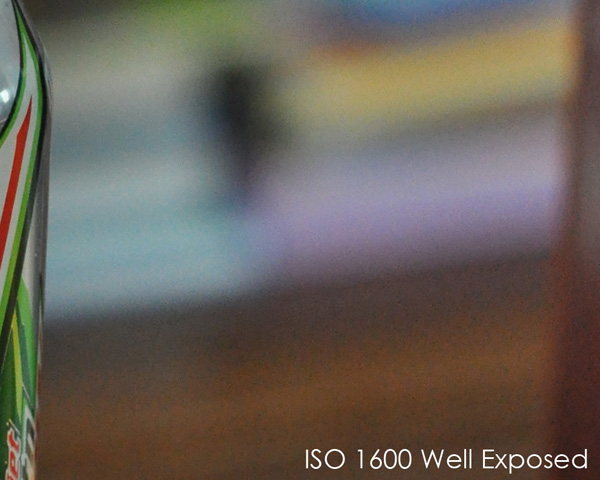
The final two are at ISO 800 and ISO 1600.
Notice the difference between ISO 400 under-exposed and ISO 800; the ISO 800 has less noise. And, if you compare, the ISO 400 under-exposed and the ISO 1600 have about the same amount of noise.
Remember the “exposure triangle” I mentioned at the beginning of this post? That triangle comes into play here because if you want to ensure your pictures are well exposed but not raise the ISO, you need to either widen your aperture or slow down your shutter speed. Both of those things will allow more light into your camera and you can keep your ISO lower.
Do not forget, though, that as you slow down your shutter speed, you need to make sure not to go too low and risk motion blur. If you have a rather still subject, use a tripod so that you can have a slow shutter speed and not worry about your hand-holding causing out-of-focus images.
Also rethink widening that aperture to one that is not appropriate for the subject or situation. If you have three or four people, you will be very lucky indeed to be able to pull off an f1.8 or 2.0 that you set it at to let in more light. It’s all a balance.
Here is my personal rule of thumb: if I am at the widest aperture I can go for my subject(s) and my shutter speed is as slow as it can go hand-holding, then I bump up my ISO until I can properly expose the image.
Note: All images shot with a Nikon D90 and Nikon 60mm f2.8 lens at aperture of f4. All images are unedited except for the underexposed ones, when I did one Levels adjustment to correct exposure.
For those who wonder, I did these series of pictures with my daughter, then with my son, both times struggling to keep them and myself in the same spot to enable similar crops. I have lost a piece to my tripod, so I could not keep myself stationary.


Great explanation Amanda!!
Thank you! I never thought about how underexposing at a lower ISO would be just as bad…this was very helpful! How nice of you to take your time to explain this!
This was perfect Amanda…great job!
Thank you for that! Easy to understand when it’s explained like that!
An excellent, wonderfully informative write-up on the impact of ISO settings, which I rarely bother to think about or adjust. Henceforth, I will!
😀 !!!!(hugs)!!!!
Amanda, girl, you are AWESOME!! It so totally makes sense now!! Thank you, thank you, thank you!!
What’s so funny is I think I may have *attempted* to do something similar (take a series of pics and only change iso), but for whatever reason it never made sense to me – but I’m sure at that time I was still learning how to properly expose and I didn’t do under/correct exposures or knew anything about levels… This so totally makes sense – and even further explains why some of my pics at a high iso looked better (less noise) then my pics at a low iso that I edited to make brighter (because I underexposed, thinking that the lower iso would give me less noise). Look at that, I can even parrot it back and it so makes sense to me!!
Ah, now I’m wanting some daylight camera time to practice and solidify my new knowledge before I loose it! lol! (the weekend’s coming!)
Seriously, though – thanks so much for your help, your willingness to work with us confused people and help get that light bulb on bright!
~Michelle
This is a great explanation. Thank you so much! I especially like the comparison of the well exposed and under exposed, edited photos. That also makes a SUPERB case for why a well exposed image is best SOOC!
HI! This is my first time here so please pardon me if I’m speaking to the wrong audience.
I really like this explanation. It’s very clear and the photo examples are excellent.
The only thing I would add is that, the quality of the camera makes a huge difference. I have a Canon Powershot SX10IS and I can shoot in manual, control ISO, etc. but the noise is MUCH worse at higher ISO than on my Canon Rebel DSLR at the same ISO. I know it would be even better if I could go to a Canon 50D. Plus I’ve heard that newer models of cameras, like the Nikon d3100 and the Canon 60D have better technology for reducing noise as well.
Just thought I’d put that out there, that sometimes the in-camera processing affects the noise because of the camera quality.
Very good explanation! Thanks!
Thank you!!! I was just thinking about this today as I way playing with my kids and taking pictures. I was playing the ISO and thinking that it was always bad to make it higher. You worded it very nicely for me to understand. 🙂
I so appreciate the time you took to provide this information. I gave myself a new camera for Christmas and while I’m sure it has a lot of potential, the learning curve is a bear. I have now reset and started from scratch numerous times while I try to get some basic settings in place to take Manual shots. ISO, FStop, Aperature…all once Greek but now making a bit more sense, are even more understandable from someone with experience. I am not a manual reader; to my demise sometimes…so thanks a bunch for this information!
Thanks so much for this great explanation!!!
Amanda: I can’t thank you enough. This has been a big problem for me and I thank you so much for you great explanation, as well as helping me so much.
Thank You for this explanation, I think the sunglasses will stick in my mind and make it all make more sense.
Great tutorial Amanda! It was so nice of your expensive model to stand so still for you. LOL
I am so glad I was able to help each of you!
This is actually incredible information. For some reason, I thought you shut this site down…I’ll be adding it back to my reader now!
I just found this article ! I thought I had read a ll of yours but missed this one somehow! Great explanations- I have just been doing a similar experament in an effort to find the perfect balance for inside “getting ready” shots in a dim spa. Thanks so much for such clear explanation!
Perfect! Thanks for the explanation. No matter how many times I’ve heard this before, I still seem to forget. I think the sunglasses reference will really help me to remember to check my ISO and exposure, not just one or the other.
I don’t write a lot of comments, but I read a few of the comments on How ISO and exposure affect noise in digital images.
| Everyday Elements. I actually do have 2 questions for you if you tend not to
mind. Is it just me or does it give the impression like a few of the remarks look
like they are left by brain dead people? 😛 And,
if you are posting at other social sites, I would like to keep up with you.
Would you list of the complete urls of all your shared pages
like your linkedin profile, Facebook page or twitter
feed?
This is incredible info
Why viewers still use to read news papers when in this technological globe all is existing on web?