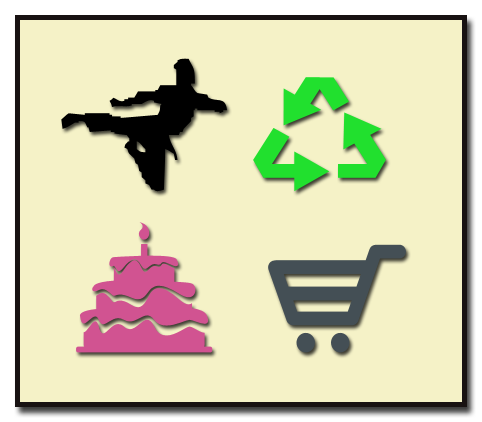
Ever need a certain shape, for like a birthday card or blog header? Brushes and shapes can both be very useful tools when creating graphics in Photoshop Elements (or Photoshop). I already showed how to install custom brushes, and since I recently linked a great place for free custom shapes, I thought I’d share a tutorial on how to install them.
Step 1: After you have download the zip file for the shape set you want, navigate to that folder and unzip it (right click, ‘extract all’ on a PC, double click on file on a Mac).
Step 2: Copy the .csh file by pressing ‘control’ and ‘c’ (command and c on Mac) or right clicking and choosing copy.
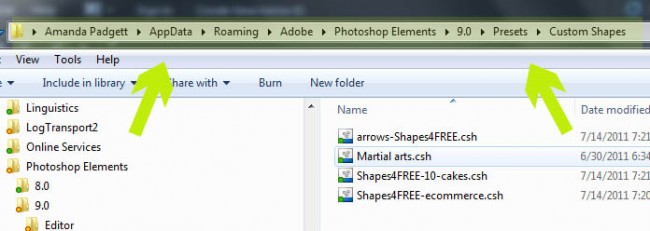
Step 3: Navigate to your Shapes folder and paste it. The file path is different on different operating systems. The two I am showing are Windows 7 and Mac.
- Win 7: User Folder (Amanda Padgett for me) / App Data / Roaming / Adobe / Photoshop Elements / 9.0 / Presets / Custom Shapes
- Mac: User Folder (Amanda Padgett for me) / Library / Application Support / Adobe / Photoshop Elements 9 / Presets / Custom Shapes
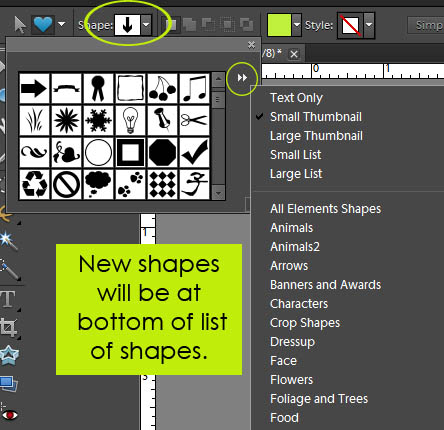
There is another way to load them, which I have done before, but it mixes the custom shapes with the Default shapes and I like to keep my separate (they show up below a line in the list). If you would like all of your shapes intermingled, you can use the file path listed on this tutorial at Design A Glow.
Step 4: Restart your Photoshop Elements. Unlike brushes, shapes have to be loaded first, then you can access them in PSE.
Some neat places that have free shapes are:
Know of more places that offer a lot of free shapes? Let me know in a comment and I’ll add them to the list, thanks!


Oh Amanda, I love you! I’ve been looking for this exact tutorial this week and had been told us Elements users couldn’t do it. Thank you so much 🙂
Yay! I am so glad it came in time to help you. PS does have more capabilities with shapes (can load from the Preset Manager) but we can definitely install them the long way.
Amanda, you are so cool, thank you so much for your hard work, it is appreciated!
Pam, you are so sweet to comment! Thank YOU for taking time to do it. Your support is so appreciated!!
Thank you for sharing this! I have been wondering how to do this for a while now!
I’ve been using the same stupid arrow to point out funny things in my pictures since getting started with Photoshop probably three years ago. I had NO IDEA I could load my own shapes and use an arrow I actually like! Thank you!
You make things so easy… THANK YOU!!!
I did have to search for a bit, but found my file extension through ‘program files (x86)’ – hopefully that helps someone if they have a hard time finding the folder it belongs in… 🙂
Thank you a lot! i love you!! it’s Really Simple C= ps: what is the font tha you put on this Forum? Thnks
Thanks so much for sharing this tut!
Thanks so much! This was so helpful and worked great.
Thank you for this tutorial! I was looking on the Adobe site for these instructions, but of course they do not have them. I have CS4 at work and I was hoping my older version of Photoshop Elements at home could do this. I’m so glad to find out that it could!!!
Thanks for your tutorial, it worked well.
Thanks, Amanda. I come back to this tutorial every time I load new shapes. 🙂