This post comes as a special request, but because of it’s inherent complexity, it relies heavily on the video tutorial.
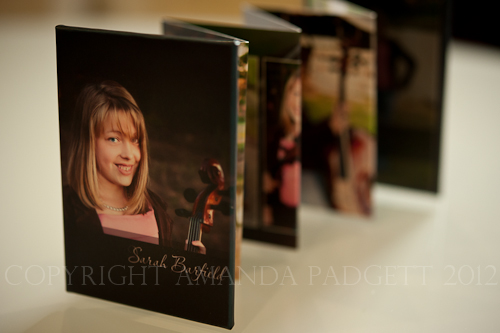
I love the mini-accordian albums that WHCC and other print labs offer. They are cute, space-friendly and affordable. Many template designers create beautiful templates for them, to fit any and all events: seniors, weddings, newborns, children, boudoir, etc.
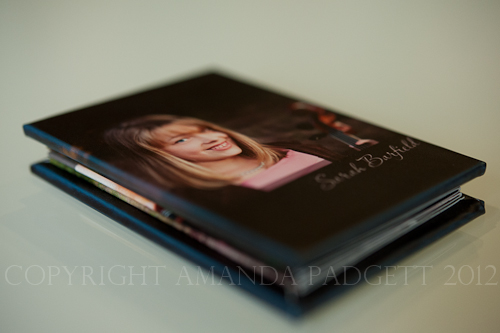
One of my personal favorites is the Black Magazine from The Album Cafe. I bought it last year while trying to find a template that would suit my non-girly niece. I had taken so many pictures of her and her cello, that I wanted to be able to share many of them and a mini-album would fit the bill perfectly.
I used the template again last night while designing a mini-album for the wedding I shot back in the fall. I will tell you this – choosing the pictures is the hardest part!!
Now, let’s get into the “how to” part of this post. But, first I want to preface it with this: your template making experience will be much quicker and efficient if you have a good file management system down and make collections/albums of the pictures you want to use in the albums. And, remember that one picture can be in several different collections/albums.
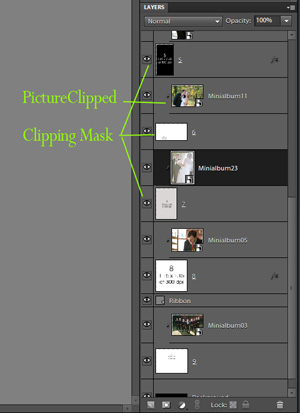
You MUST know how to use clipping masks. If you are not familiar with using them, check out the tutorials Clipping Masks Part 1 and Clipping Masks Part 2.
Alright, after you have the images selected you would like to use, make an album of them in Organizer so that you can easily access them while in Full Edit mode in PSE, from the Project Bin.
- Open all the PSD files that are a part of the album
- Click on Project Bin and go to your album with the pictures you’d like to use for the album
- Click on a layer in the template where you’d like a picture set and then drag the picture for that spot from the Project Bin onto the template
- Use the Move tool (v) to move and resize the image. You need to click on the corner of the image, then push in diagonally, or press alt and move in
- Click the check mark to commit the move
- Press control + g (command + g on a Mac) to clip the picture to that particular clipping mask
- Continue this process until all the images are placed and clipped
- Save the file UNFLATTENED as a PSD
- Flatten the layers and save as a JPG at quality of 10

Something to think about when choosing/placing the images in the template is that the pictures need to balance. For example, on my back cover of the wedding album, I have two fairly close shots on the sides, then one wide, more distant shot in the middle. Also, the end pictures had similar lighting and color, while the middle was made neutral as a black & white.
Printing with ROES is shown in the video tutorial. Too much to explain with that to share in this post; maybe I’ll do a dedicated post for that topic at a later date.
The first video is a webcam video of my showing the actual template of my niece and a CD case I made for the wedding pictures. The second video is a 14 minute video showing me using the Black Magazine template and ordering the albums via ROES.


Pretty Cool! So how big is the actual book?
Wow, great info, Thank you!
Please do consider a lesson on ROES. I’m very interested.
Thanks
THANK YOU-AGAIN AMANDA!!!!! This is wonderful, I love those little albums, I havent had the courage to try to order one. Now I may have to try. Would be interested in a roes tut also.
Can you please recommend places to print these fun types of templates?