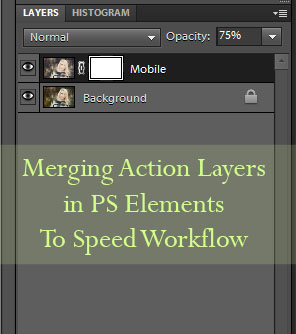
A few days ago I shared how Photoshop CS# users can group adjustment and duplicate layers into grouped-layers for easier use and a more tidy layer’s palette. I mentioned that grouping layers is not something Photoshop Elements users can do, but that there was a work around that would do the job.
Let me stress – you do not NEED to use this little technique. It is merely a quick way to merge your layers and tweak the layer of one instead of many.
Step 1: Clean up your image. What is that? That is when you fix white balance, exposure, contrast and other things to make the image look as good as it can but still look like it came from the camera that way.
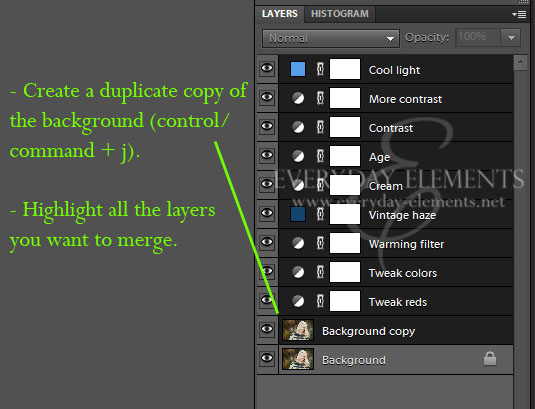
Step 2: After saving your edit with layers open as a PSD, if you want it that way, flatten your clean-edit layers. Then run the action of your choice. If it has many layers to it, then duplicate the background (control/command + j). See image below.
Step 3: Highlight the layers you wish to merge together by clicking on the top, holding down your shift key and then clicking on the bottom layer.
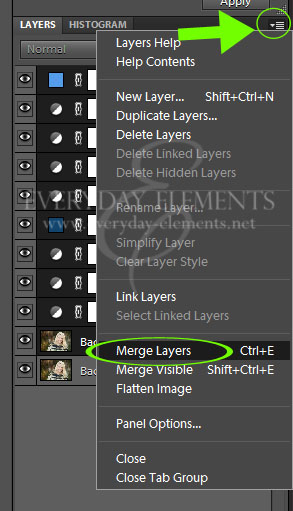
Step 4: Once the layers are highlighted (along with the background copy) click on the menu icon for the layers palette, which is in the top right-hand corner of the palette/panel. Click on Merge Layers.
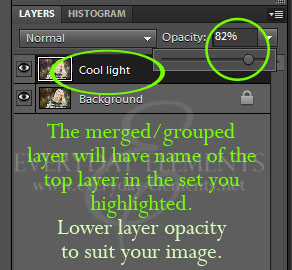
Step 5: Tweak the layer opacity to suit your image. And, you can add a layer mask to the layer, just as I did in the PS grouping tutorial (I show adding a mask in the video tutorial below).
Note that the name of the layer will be the top layer of those you merged. Don’t be alarm, it doesn’t mean anything and if it bothers you, double click on it and rename it.
I did create an action to do the very steps I show here, just to speed the process, not because you need it to be able to do it. I call is “Action Group” and it’s free to download until Monday, March 5th, then it will be available only in the Everyday Essentials action set.
Click HERE to download Action Group.
Below is a quick video tutorial showing these steps and how to use the action. The video is iPad compatible (at least iPad 2). The video will now show up if you are reading this in a blog reader or via email. Simply click the blog post title and it will bring you to the blog, where you can view it.



Thanks so much for this tutorial and the Action Group download.
Fantastic tutorial, as always. Thanks!
Very helpful! Thank you Amanda.
So helpful, I have been trying to figure out how to merge only certain layers!
~Jamie
How do you highlight all layers? Love this tip.