written by Beckie of beckiegkengle.com
Valentine’s Day is coming soon! How fun would it be to make personalized cards for your child to give out? In this post, I’ll show you how you can make a simple wallet-sized card and have them printed out for your kids to take to school on Valentine’s Day! (my project looks a little different than my final product because I lost my original template in my Great Computer Crash of Fall 2012, so I had to remake it)

www.beckiegkengle.com
First, we’ll start by creating a new project in Photoshop (you can do this in PS Elements also). I have found that a 5×7 scales down to a 2×3 wallet size very nicely without cutting much of your image off in printing. (if you want to be extra cautious, leave some room around all of your edges when adding pictures, text, and clip arts) I made my new project 7 inches by 5 inches and set my resolution at 300.
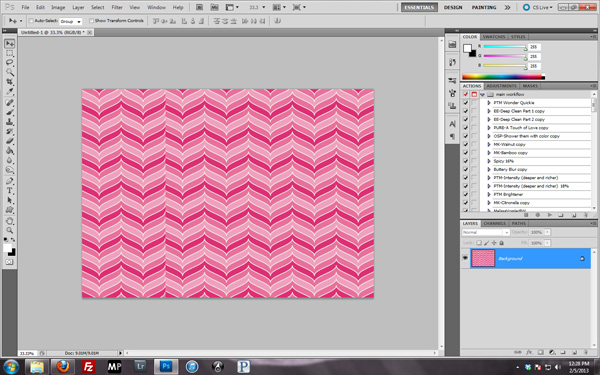
Next, I found a digital paper that I liked (this particular one, I purchased, but there are so many free ones out there as well), and dropped it onto my background, and adjusted it to fit.
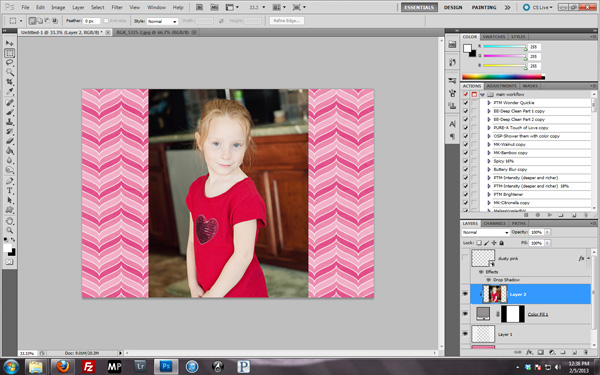
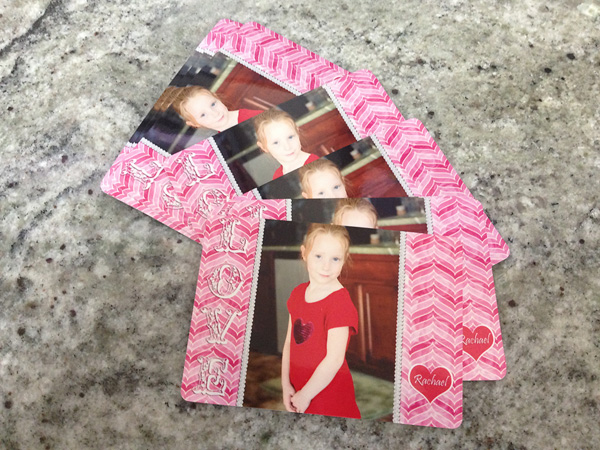
Next, I found the picture that I wanted to use, and played around with its placement and decided on having it in the center.
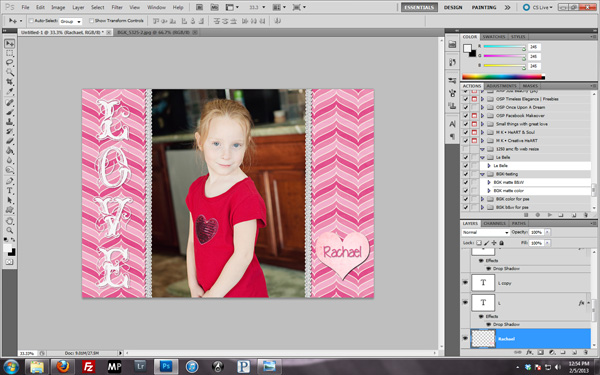
And finally, I added some text and clip art to finish it off.
I then sent the image to the print lab that I use (my lab of choice is White House Custom Colour, but you can choose a local lab as well. Costco is very competitive with their prices and their quality). I chose to have them die-cut to have the rounded edges, and also chose to have them printed on metallic paper. The reds and deep pinks really pop on that metallic paper!
If you enjoyed reading my post and would like to follow more of my journey through life in photography, feel free to visit my blog or follow my Facebook page!


Silly question Becky, when you send it off to be printed do you just save as a jpg file? I’m used to just printing at home, but sometimes would like a more refined card.
Oh, I forgot to address that in my post! Sorry! Yes, I do save as a jpg before I send it to my lab! 🙂
Gotcha, thanx!
Good idea! Bet a scrapbooker’s corner rounder tool would work and possibly save a little money.
Oooh, you’re probably right! 🙂
Thanks so much for the tutorial … love how simple and easy this is 🙂
I’m glad you enjoyed this post!
Thanks for the tutorial! I am making mine right now. Did you use any type of ruler or grid when placing your photo or did you just eye ball it?
I just eyeballed it. But it is really easy to turn the ruler tool on if you want to use it! 🙂
Hey I know this is off topic but I was wondering if you
knew of any widgets I could add to my blog that automatically tweet my newest twitter updates.
I’ve been looking for a plug-in like this for quite some time and was
hoping maybe you would have some experience with something like this.
Please let me know if you run into anything. I truly enjoy reading your blog and I look forward to your new updates.