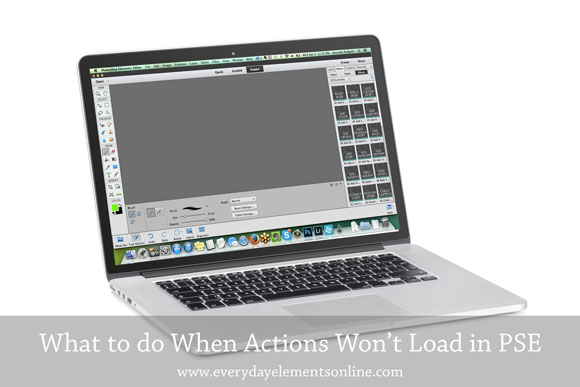
Thanks to the handy-dandy Actions panel is in Photoshop Elements 11 and 12, installing actions no longer has to be a complicated and frustrating task. However, if you are a PSE user who upgraded from an older version, you may prefer using actions through the Photo Effects panel because the thumbnails are easier to read and use.
Installing actions through the Photo Effects folder is quite an undertaking the first few times you do it, but after that it becomes routine and not an issue for most people. The speed-bump comes when you do all the right steps but the actions still do not load. This happens for most people, eventually, but it is an easy thing to fix.
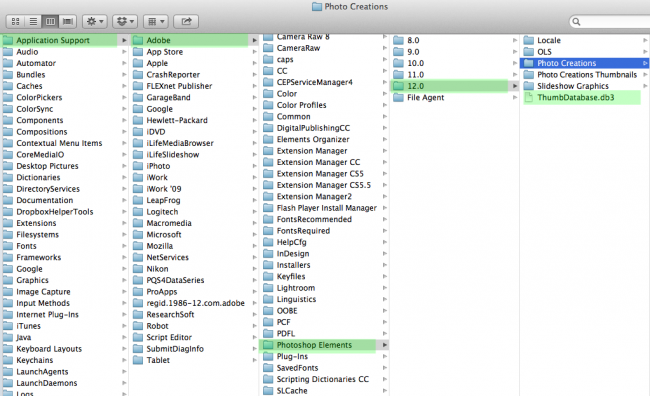
The first thing you need to do is access your Photoshop Elements folder. This is the same one you went through to get the the Photo Creations folder when you copied/pasted the actions there. The folder path is different for all the various PC and Mac operating systems. (There are file path instructions for PCs and Macs further down).
Once at the Photoshop Elements folder:
- Go to the Photoshop Elements folder and DELETE the Thumbdatabase.db3 file. Delete.
- Go to the Locale folder, then En US or En UK, or whatever your version is (this is the language your PSE is in).
- Locate the Mediadatabase.db3 file and DELETE it. Do not rename. Delete.
Restart your PSE.
Those on a Mac laptop/computer will get a message about it “Building Content.” PC users may just get a white screen with bits of PSE workspace showing through, or will show the workspace but no cursor, like it’s broke. Do not be alarmed; all is well!
Allow your Photoshop Elements time to re-populate the actions, styles, effects, etc., that were in the Photo Effects folder. Note: some PC computers may take up to 20 minutes.
For those who have forgotten how to access their Photoshop Elements folder (for installing actions through the Photo Effects folder), below are the file paths for various operating systems.
At the bottom is a four minute video tutorial showing the steps listed above. I hope the instructions and video prove helpful for you!
Windows Vista and 7:
- C Drive/Program Data/Adobe/Photoshop Elements/12 (or your version #)
- If you don’t see the Program Data folder, go to Start/Control Panel/Classic View/Folder Options/View and select “Show Hidden Files and Folder.”
Windows XP:
- C Drive/Documents and Settings/All Users/Application Data/Adobe/Photoshop Elements/12 (or your version #)
- If you don’t see the Application Data, in your Windows Explorer, go to Tools/Folder Options/View and select “Show Hidden Files and Folders.”
Mac Snow Leopard:
- Hard drive/Library/Application Support/Adobe/Photoshop Elements/12 (or your version #)
Mac (Mountain) Lion:
- Open Finder, GO in the Finder menu, then down to Computer, then MacIntosh HD.
- File path to follow: MacIntosh HD/Library/Application Support/Photoshop Elements/12 (or your version #)
Below are screen prints of the file paths for Mac Mountain Lion and Lion:
Below are screen prints for Windows 7, but I am fairly certain the paths are the same for Vista and Windows 8 as well.


Speak Your Mind