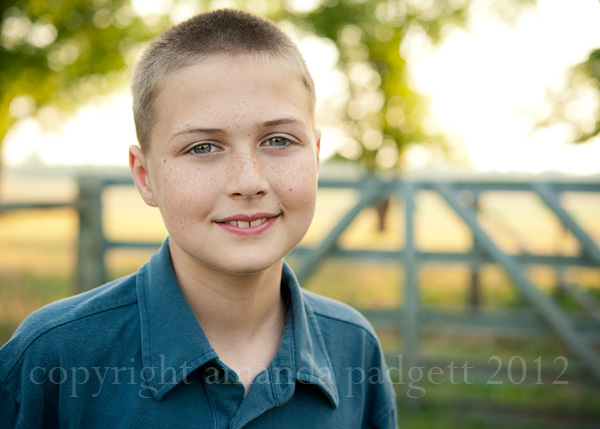
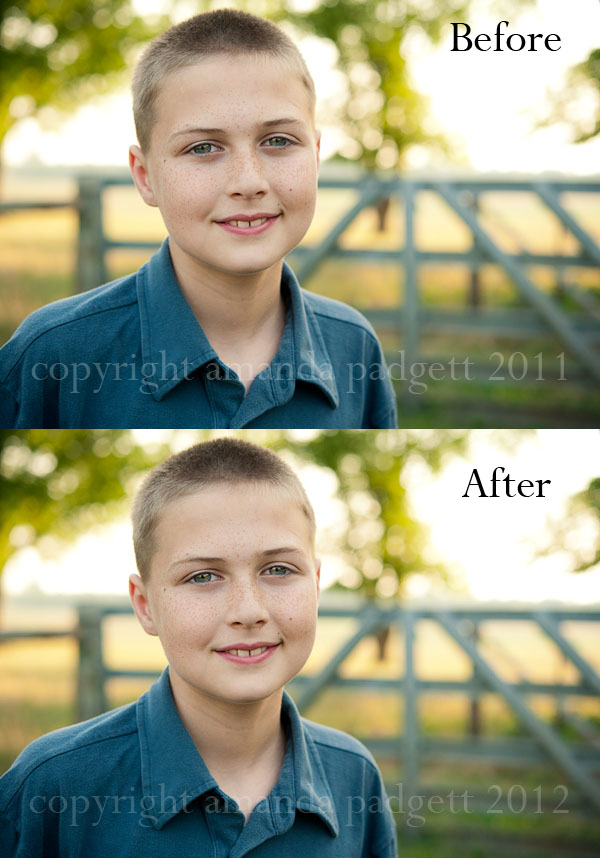
Today I am going to show you how you can brighten, define and sharpen eyes in just one layer.
Often I have each step be a different layer but if you are in a hurry or you don’t care to keep each step separate, doing it on one layer is perfectly okay.
First thing you want to do is fix the white balance, exposure and contrast for the overall image. That must be done before messing with the eyes. Please.
Before you enhance the iris and pupils, look at the eye sockets – are they dark, do they need brightening? If so, do a Brightness and Contrast layer, change the blend mode to Screen, invert and brush with a soft, low opacity brush over the sockets, then lower the layer opacity. And, take care of the under-eye circles with the Easiest Under-Eye Circle Fix Ever.
Now, on to making those eyes pop.
- If you want to keep your other edit layers open, create a pixel stamp (that’s just what I call it, there may be a more technically correct name for it) by pressing control+shift+alt+e on a PC and/or command+shift+option+e on a Mac.
- Brighten and define by going to Enhance, Adjust Lighting, Levels and move the white slider to the left, the gray slider to the left and the black slider to the right to suit the eyes
- Saturate colors a bit by then going to Enhance, Adjust Colors, Hue/Saturation, and saturate the overall Master color or by going to the colors in the drop-down menu.
- Sharpen by going to Enhance, Unsharp Mask and moving the sliders to settings that will sharpen and sparkle the eyes. I like 150%, 1.7 and 3 but you can change it to whatever you like.
- Isolate the change to just the eyes by adding a mask, inverting (control/command + i) and brushing only over the pupils and iris of each eye.
- Lower the layer opacity to suit.
Please remember that moderation is very important when editing, but especially so with the eyes. You do not want to make them so beautiful that it is very evident they’ve been “photoshopped.” You want to enhance the eyes to be beautiful but believable.
The video below can only be played at the blog, not in an email notice or a blog reader. The video can be watched on iPhones but I’m uncertain about iPads. I am looking into what I need to do to ensure the videos can be played on those devices and appreciate your patience while I do so.


Thank you so much for your tutorials. They are awesome and very helpful. YOU are AWESOME!!
Thanks for the tutorial! Now I need an awesome photo to try it out on. 🙂
Thanks for the awesome tutorial!
Thank you, Amanda, for this and all of your tutorials. They are so helpful. I viewed it on my iPad2.
I’m new to your blog and am still very much a beginner at Elements, though I’ve taken two classes, beginning and intermediate (twice) through my local community college extension courses. I have the #10 version. Where I got lost on this tutorial was when working on the under eye area you toggled between ‘i’ and ‘b’ for eyedropper and brush?? Not sure what was going on there. I followed you through the other steps, though, and tried it on a picture with interesting results. What a beautiful picture (darling boy) you’re using, by the way. Thanks so much for this. I’ve already learned something useful that I never learned in my other classes (though we did cover adjustment layers and masks). I’m definitely considering taking one of your classes now.
Carolyn,
I’m sorry. I moved fast with that because I’ve done a tutorial on it before. You can see it here: http://everydayelementsonline.com/2011/11/how-to-fix-undereye-circles-in-pse/
Hope that helps.
Thanks for sharing the tutorials and videos! I enjoy watching them and have learned so much from you! I’d love to be able to watch them on my ipad, so keeping my fingers crossed! 😀
Thanks for this … Very helpful. (Btw, I was able to watch the video on my iPad.)
Thanks so very much for sharing your knowledge; love that little bit of Southern in your accent 😉
Thanks!!!
I have recently found your site and just love it. Thank you so much for all you do and all you share! I wish I had a whole weekend to myself to just sit and watch all these and play with your actions! Thanks again!
THANK YOU!
Can you add a layer mask with elements 8? I haven’t purchased any actions so I couldn’t add it that way.
Thanks, Christy
I am having issues with the Shift+Control+Alt+E command. What exactly does it do? Does it copy and paste all existing layers? It is giving me a really weird washed out picture.