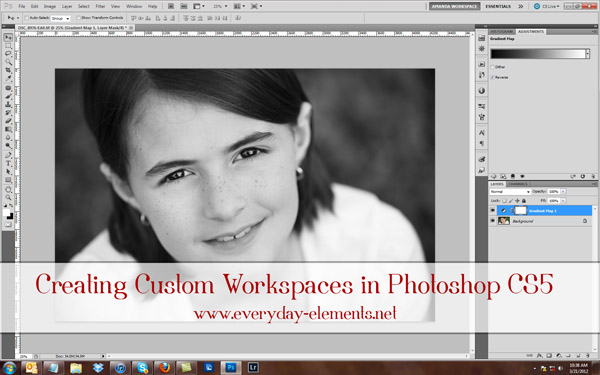
A while back I wrote a post about customizing the workspace in Full Edit mode of Photoshop Elements. It’s handy and wonderful but it is lacking one thing to make it really great – the ability to SAVE IT. That missing trait is actually something that Photoshop CS5 (and older versions) do have, but many fail to make use of it.
Why would saving the workspace be so handy, especially since when you close out of Photoshop (or PSE) the panel locations are saved anyway? What if you accidentally hit “reset panels” in PSE? Guess what, you can’t get that workspace back! I have accidentally hit the reset panel button like five times with my Wacom pen and it’s soooo frustrating!
There is not an easy-to-hit “reset panels” button in CS5, however, the ability to save the workspace means you can get it back should you ever move things around and then think “What have I done? I don’t like it like this, wish I could go back to the way it was without having to redo everything.”
How do you start? Start by moving your panels how you would like them, similarly to how I showed for customizing PSE workspace.
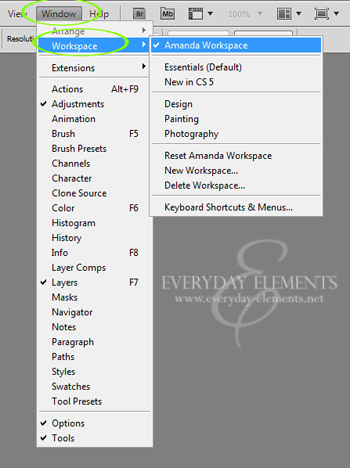
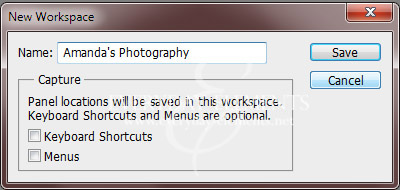
Then, after you have them as you want them, go to Windows, Workspace, and NEW Workspace. Name it whatever you would like to.
What if you mess up and end up with workspaces you don’t need or want? You can delete them. You can be in the one you want to delete, so make sure you are using a “keeper” workspace, then go to Window, Workspace, Delete Workspace.
When the menu box comes open, click on the drop-down menu and choose the workspace you wish to delete.
Notice that you can create MULTIPLE workspaces! If you like to design graphics for like blogs, or cards, scrapbooking, etc, you can customize spaces just for those purposes and save them.
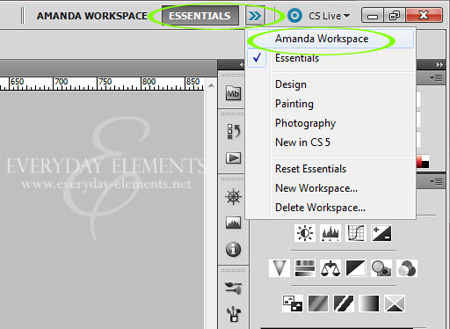
To switch between the workspaces, you can go to Window, Workspace and choose there, or you can go to the top, left-hand corner of CS5 and click the arrows beside Essentials, and your workspaces will show up there. You can have more than one open; all open workspaces will show up to the left of Essentials.
One last thing – for those who do not see why customizing your workspace is important. Having the panels and tools that you most frequently use in locations that are easy and user-friendly to you will help you move around faster and more efficiently, ultimately saving you time when editing.
Does this inspire you to make a custom workspace? I hope it does! If you have questions, leave them in a comment.
Below is a quick video about workspaces and walks you through the steps mentioned above.


I’ve so been needing to do this with my workspace. I dislike adjusting everything all of the time.
Amanda,
I love what you do and all the tips you share, the tutorials you make and the actions/presets you create. You are so inspiring! Thank you, really appreciate all your work!